

AWS Elastic BeanStalk CI/CD with GitHub Actions
Learn how to setup CI/CD using GitHub actions for the Spring boot application hosted via AWS Elastic BeanStalk


In this article, we will walk through how to set up CI/CD with GitHub Actions on AWS ElasticBeanStalk for our Spring Boot Application.
We will scaffold the Spring boot Application with a single endpoint to demonstrate the same.
AWS Elastic Beanstalk is an orchestration service offered by Amazon Web Services for deploying applications that orchestrate various AWS services.
GitHub Actions is a continuous integration and continuous delivery (CI/CD) platform that allows you to automate your build, test, and deployment pipeline.
This will be the first part of it, the second part may include setting up Code Quality analysis integration as part of CI/CD setup to continue building an entire pipeline. And third part may be API gateway setup ahead of AWS Elastic BeanStalk
Pre-requisites
- AWS Account
- GitHub Account
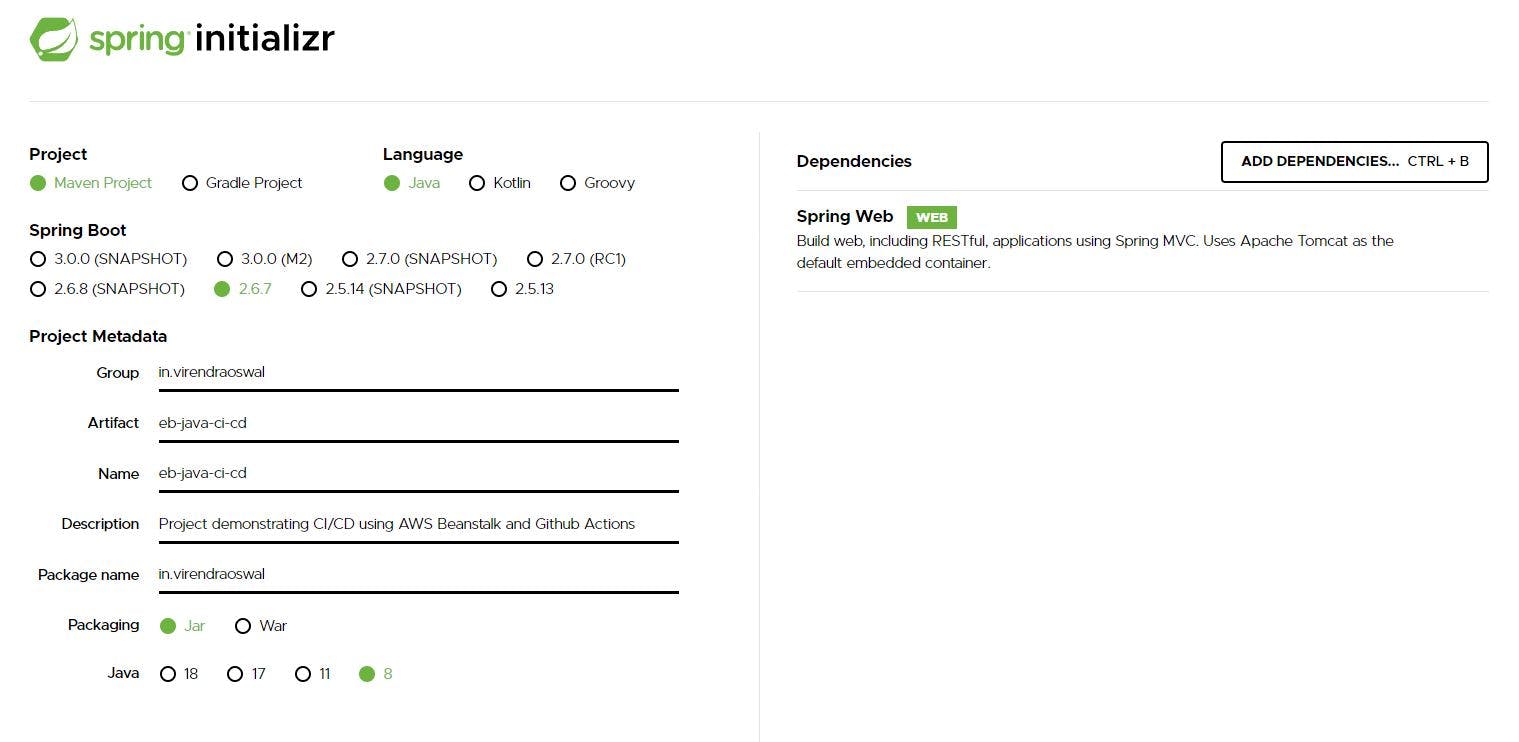
Scaffold Spring Boot Application
We will bootstrap a sample spring boot application using Spring IO Initialzr with the below details
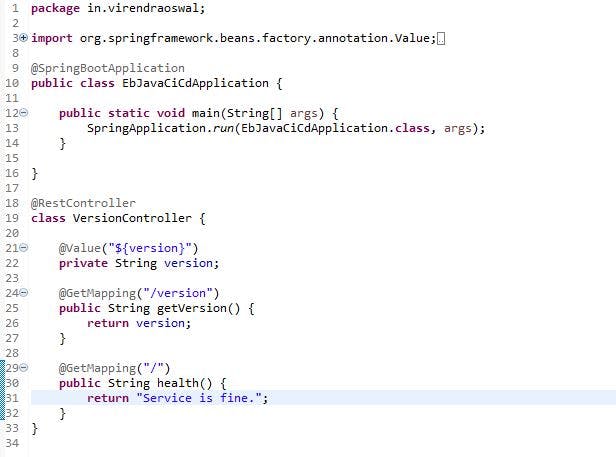
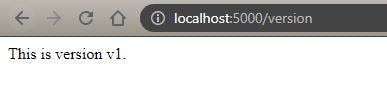
We have just created a Simple Controller having /version endpoint which returns a Version of the current Service which is wired from configuration as below (Additional root (/) endpoint for health purpose)
Version property is evaluated from below
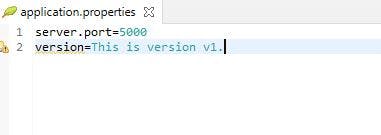
If we see above we have explicitly set
server.port=5000for our spring boot application to listen to requests. This is because we are going to use EC2 which will be provisioned directly by AWS EBS and internally it uses Nginx which uses the above Port to redirect by default.
Our application is working fine locally.
Setup ElasticBeanStalk Application and Deploy Spring Boot Application
In this part of article, we will create ElasticBeanStalk environment and setup our application manually before setting up CI/CD using GitHub Actions.
Make sure you have an AWS account created before starting with this step. Steps on the same provided by AWS.
Login to your account, and make sure you are using the Region of your choice. I have selected N Virginia (us-east-1)
Select Elastic BeanStalk service from the Search services bar and you will be directed to dashboard for same

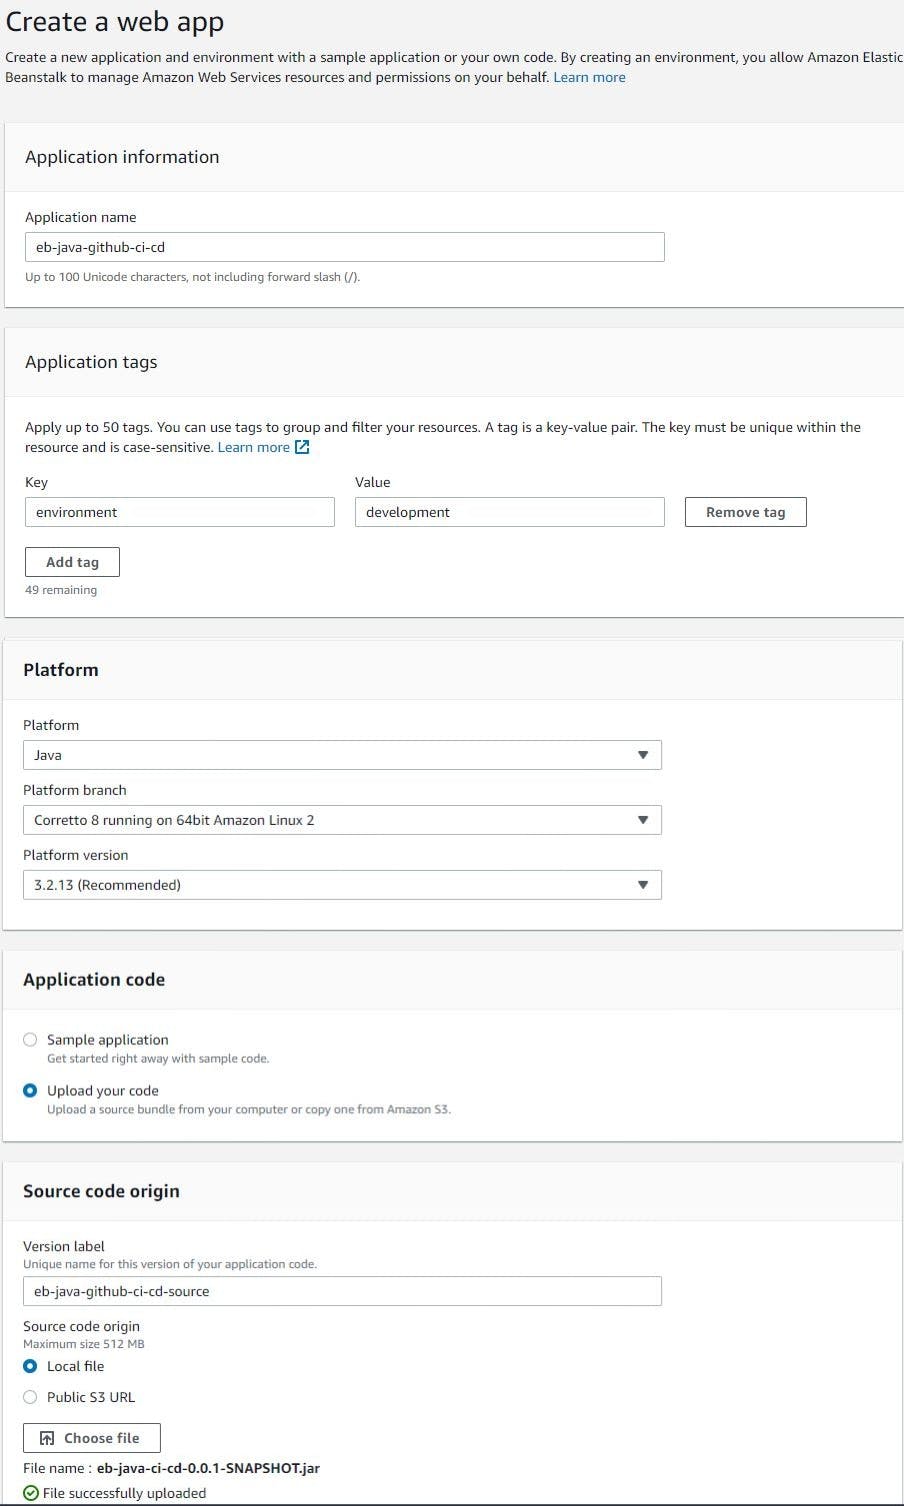
Click on Create Application link, which will take us to Create Web App page, most details are self explanatory as part of creation.
We have filled as below, when you try to create first time you can deploy Sample application bundle provided by AWS or manually push code from local. We will push from local, by creating executable jar of our spring boot application by running maven plugin and then upload jar.
Now Click Create Application. Once Clicked, it will take some time to setup entire environment and application.
You can configure additonally EC2 instance capacity to start with, and other auto scaling features as a part of creation, but we are going ahead with default which uses t2.micro or t2.small by default.
Once all configurations are done, services will started as part of provisioning, once done you can view summary of environment and associated applications as below

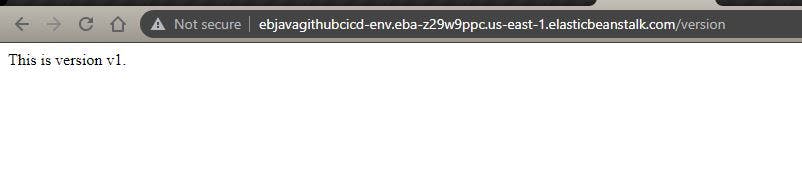
Health OK means all good, we can click on URL which is random URL generated for your application for accessibility. If we click on URL in above table it will take us to root endpoint of our service We can test our /version endpoint too, to verify all good. We look good.

This completes setting up our Spring Boot application on AWS using Elastic Beanstalk.
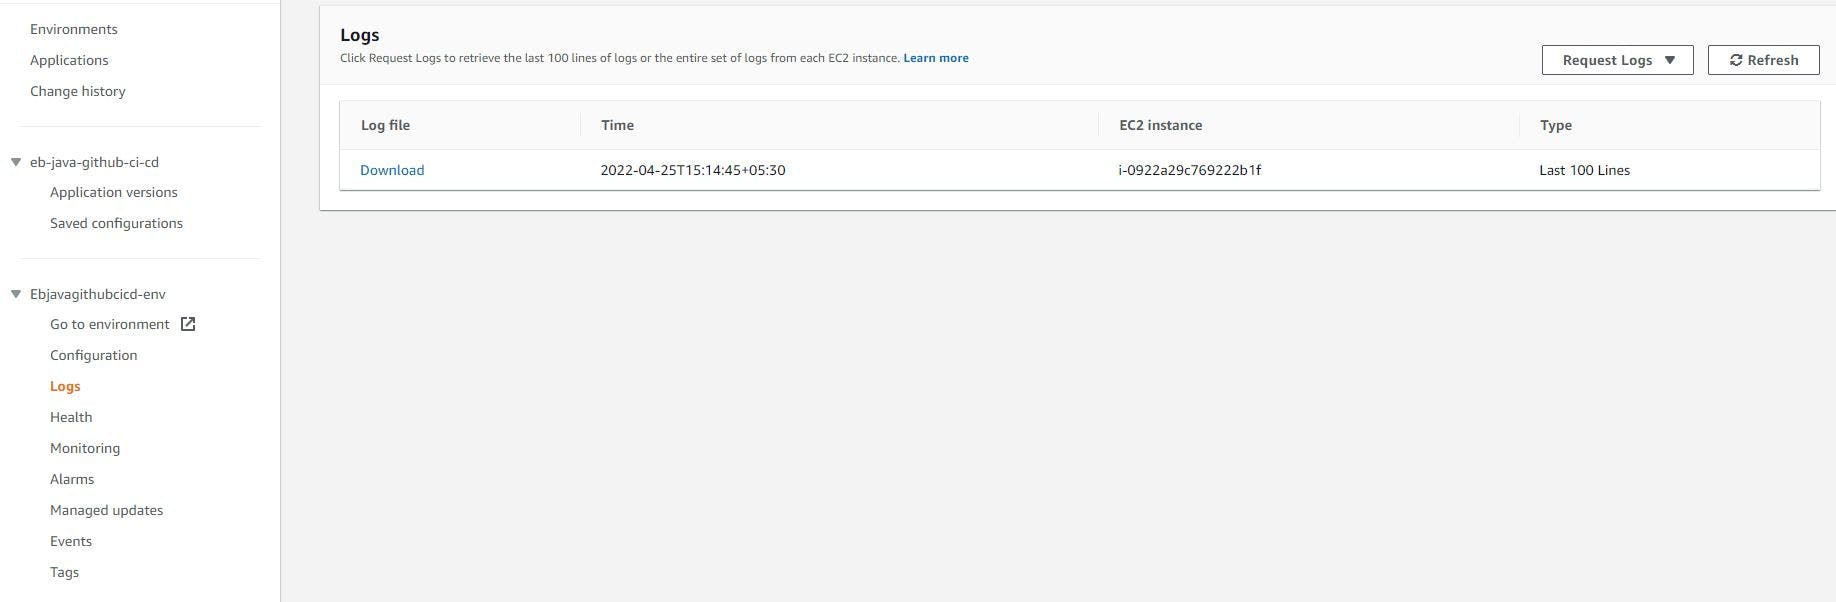
Bonus: If for some reason, the application doesn't come up you can view logs by visiting the application from the dashboard and then Logs on the left side menu as below. We can request Full logs or the last 100 lines for applications.
Setup CI/CD using GitHub Actions
Before setting up the Github Actions workflow, we need to get hang of our Secret Access Key and ID which is used to authenticate Github and AWS.
There is another way of doing the same using the OpenID Connect protocol which is my preferred way and also recommended way for more security which we will cover in future articles.
Set IAM User and Permissions
We will set up an IAM user which authorizes our Github and AWS service using secrets.
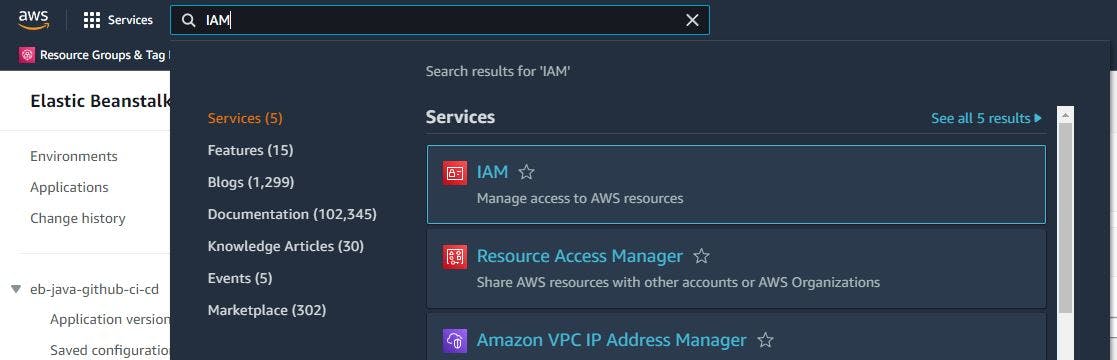
Let's go back to the AWS console, and this time select the IAM service which is region independent, unlike the application we set up which is bound to the us-east-1 region of N. Virginia
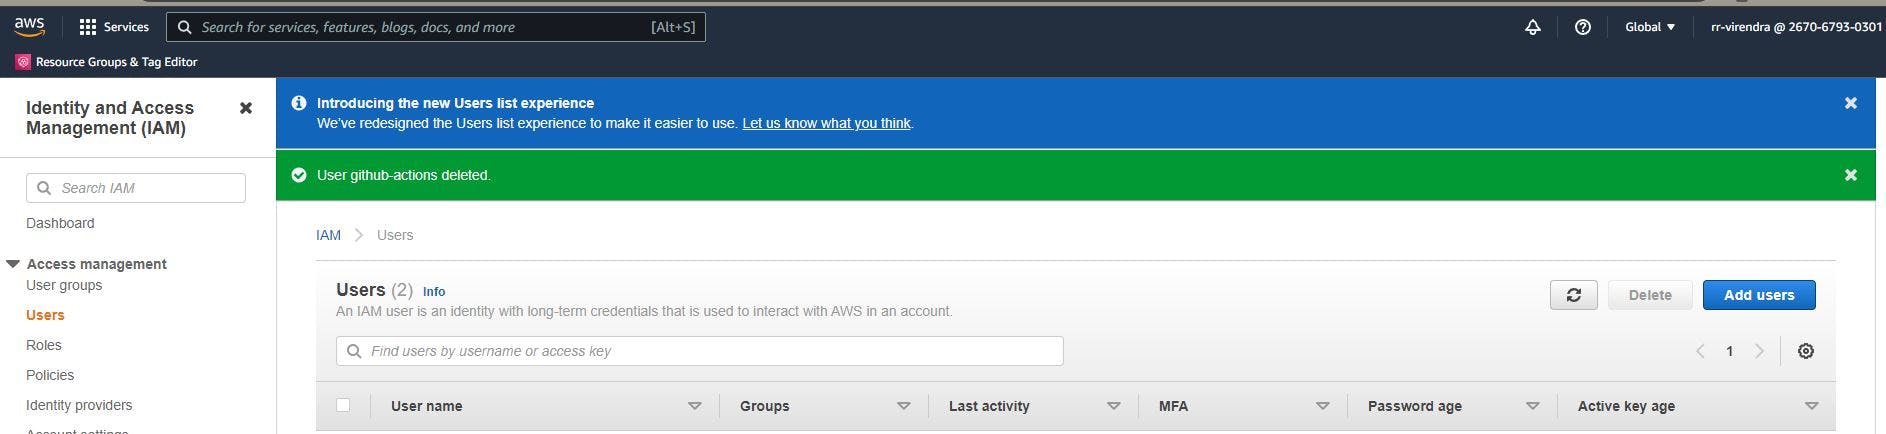
Click on Users in Menu on Left Side, and then Add Users
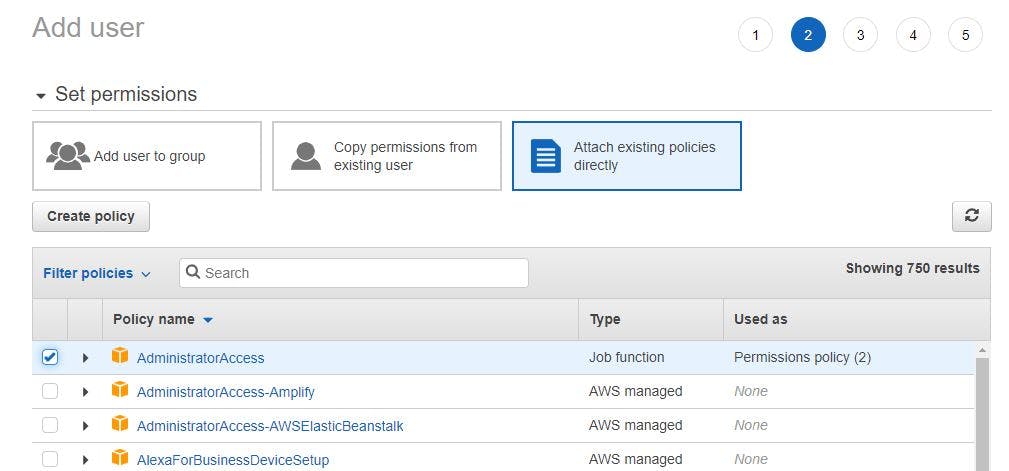
Give a meaningful name to user and Enable Access Key - Programmatic Access and Move to permission page.

For blog I will select Administrator which is not right, and you should limit access.
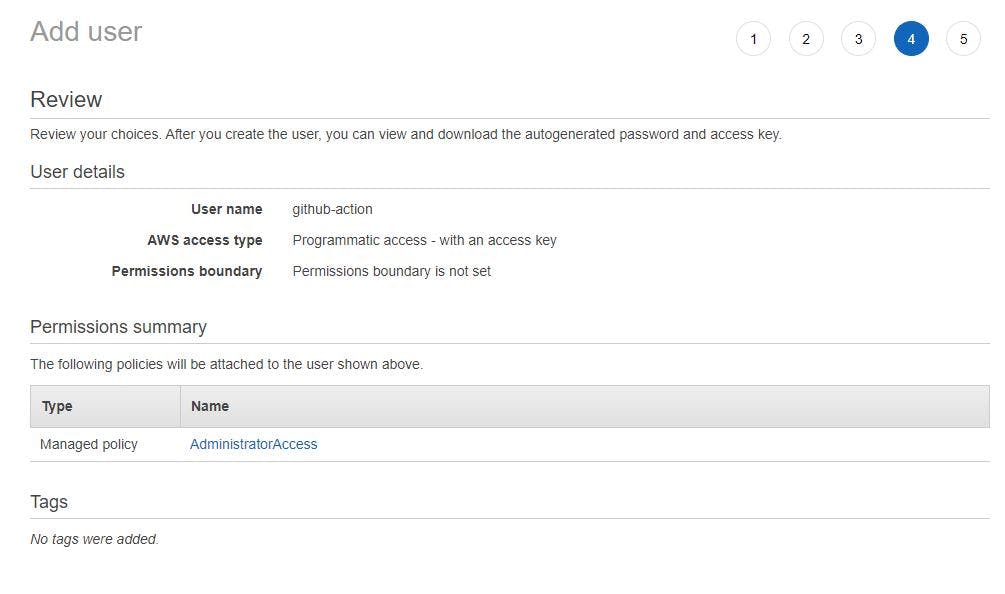
Move to the Tags page, we can ignore it. Just Review the user and click Create User.
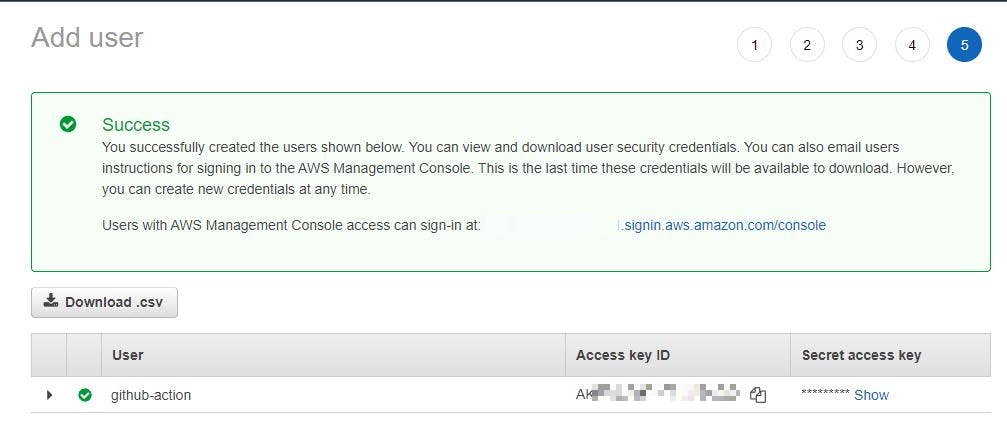
On successful Creation, capture Access key ID and Secret Access key which we will require during Github Actions Workflow setup. You can download .csv too.
That's our action is done on the AWS side.
Setup Github Action for CI/CD
We have created a repository in Github github.com/cycorax12/eb-java-ci-cd
Before we write github actions workflow, we will add Access Key ID and Secret of our user we capture in last step as Github Secret.
Go to Settings of repository --> Secrets --> Action --> New Repository Secret
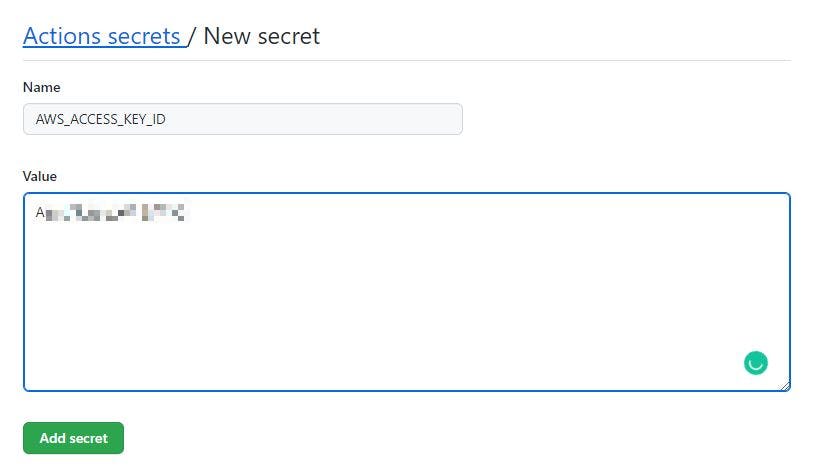
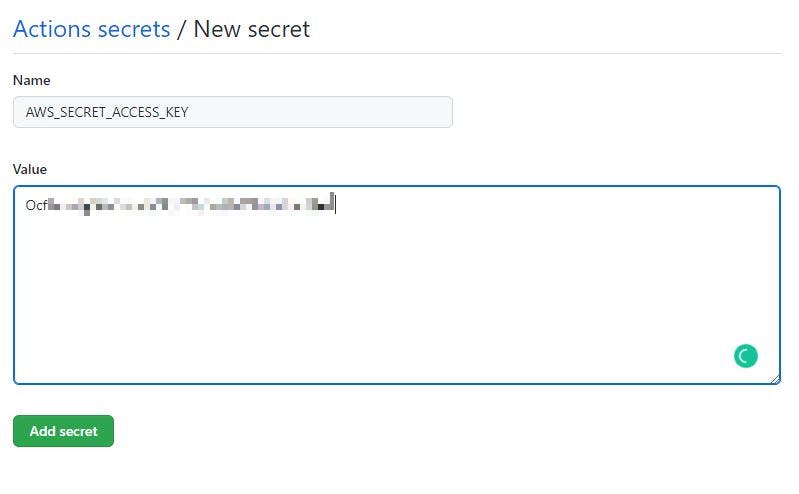
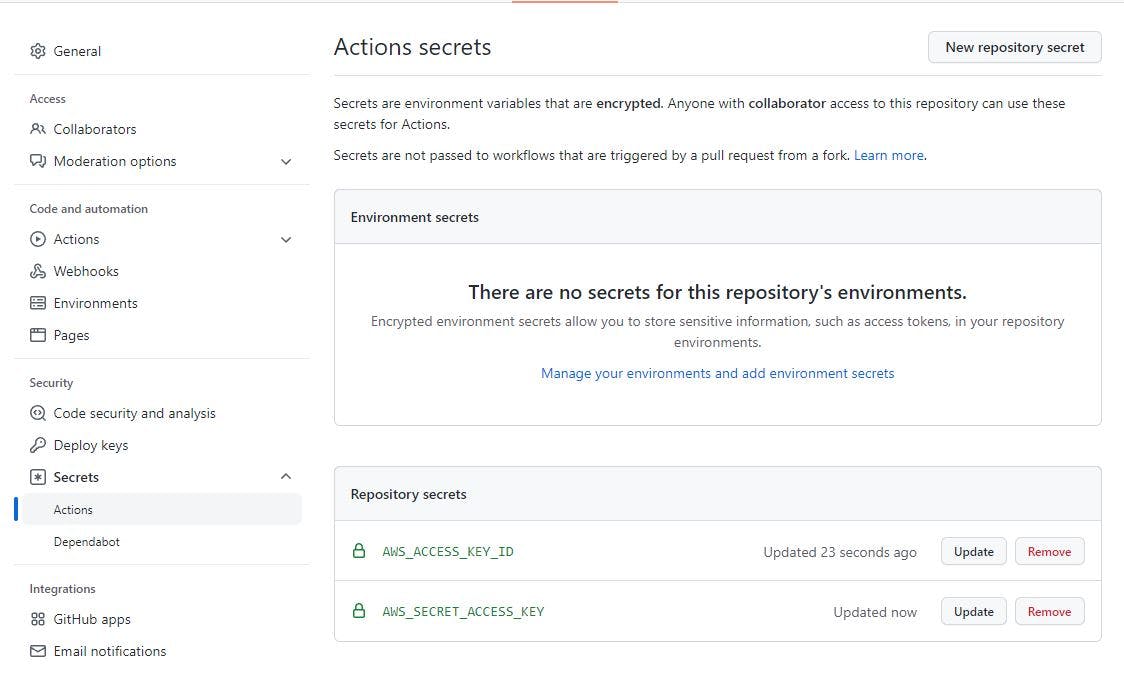
With above keys added as a secret, we would be ready to refer them in our Github Actions Workflow.
Create folder .github/workflows at root level of your repository and create main.yml file as here
I have added comments in the workflow created, but just summarizing what we are doing:
- We will run workflow whenever there is the change in the main branch, you can setup as per yor convenience.
- Now we use Checkouts action to pull out code, and build package using maven tool.
- We push artifacts to storage (its 500 MB for the free tier, so we should ideally set up a purging policy rather than manual delete)
- We now use an action built by einaregilsson/beanstalk-deploy@v13 to push code and deploy artifacts against our environment and application. Link to custom actions we used beanstalk-deploy action Parameters is self-explanatory, more details available on the Github page above.
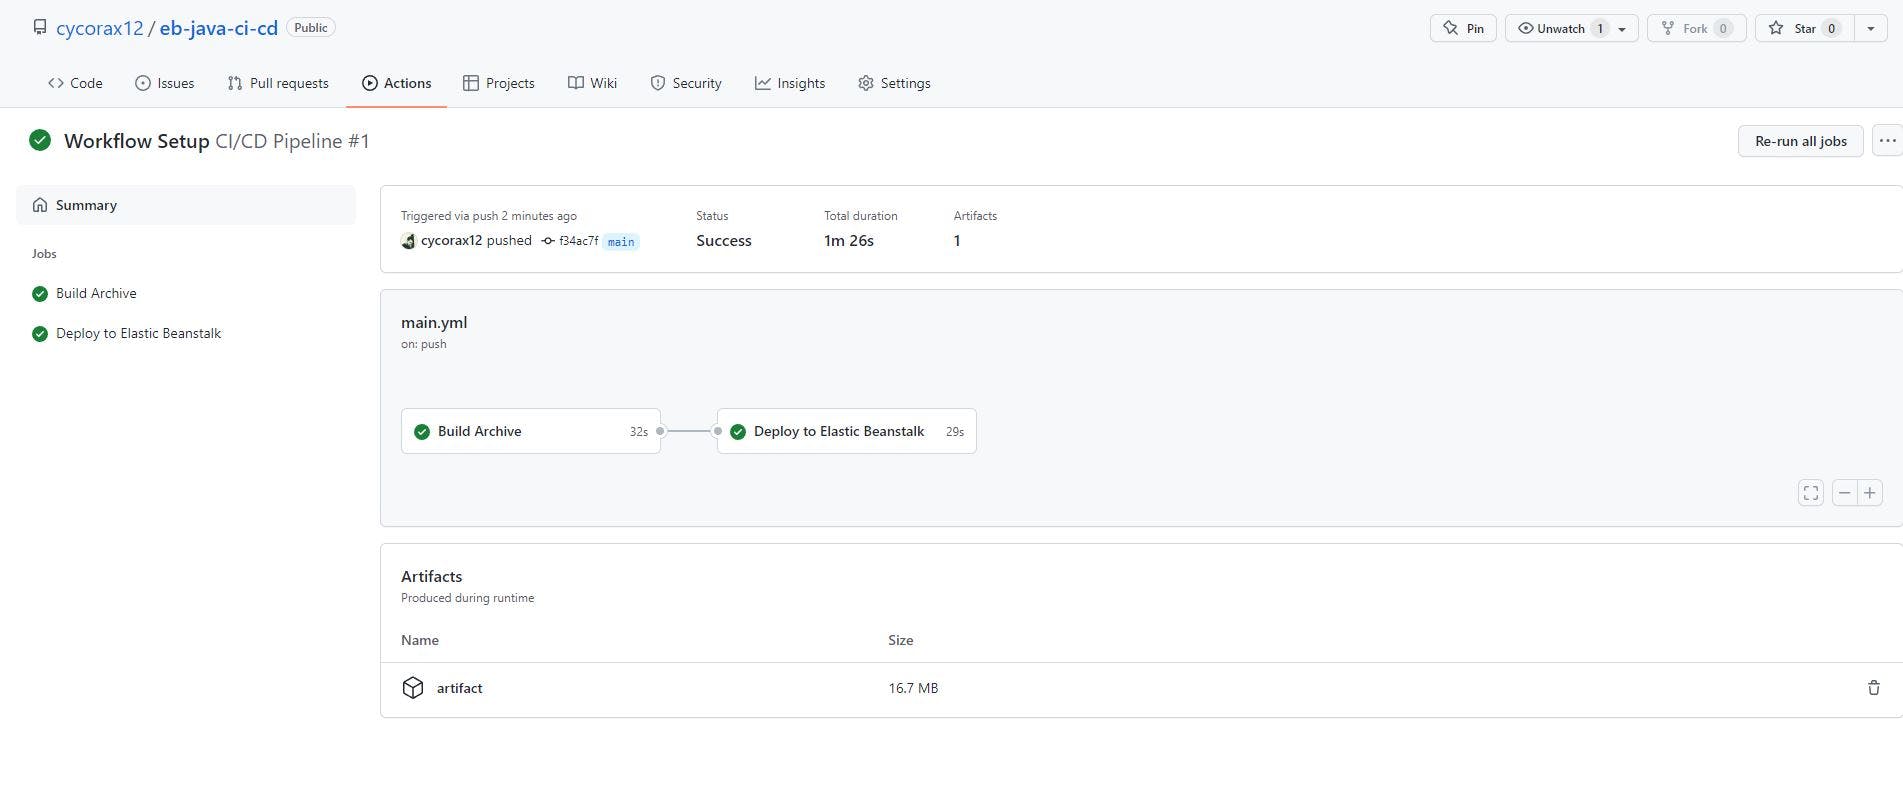
- Voila, CI/CD is ready.
We will now push our changes, but this time we will update application.properties as below

As soon as a change is pushed, Github Action is triggered.
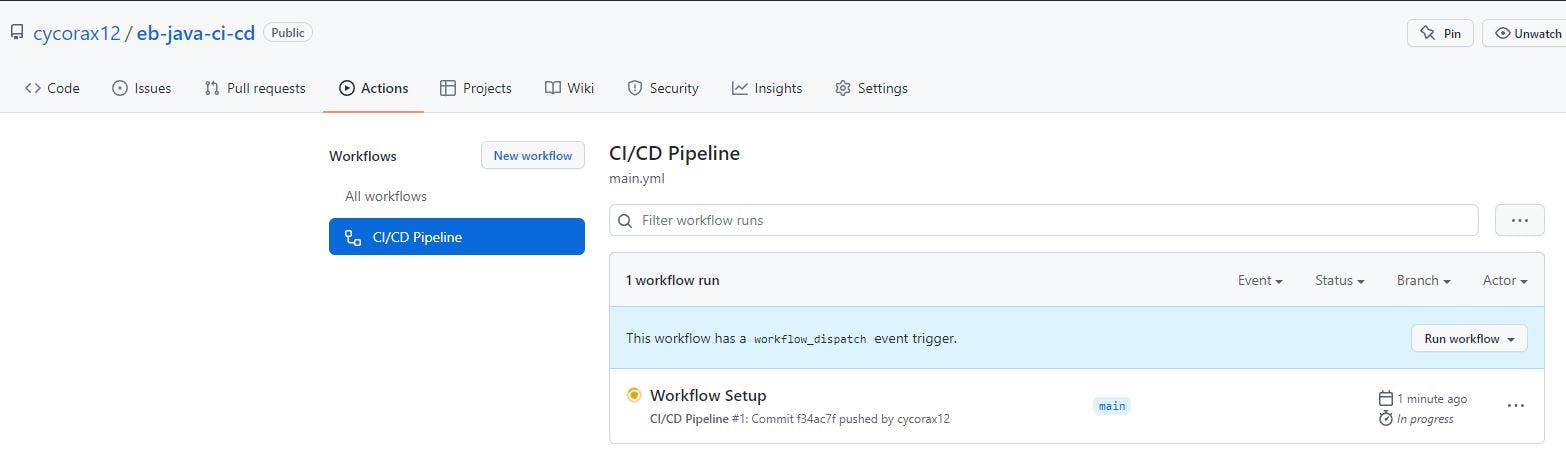
If all good, we will get logs and error if any in steps for an individual runs.
Now if we hit /version endpoint we see an update value.

Resources
Thank you for reading, If you have reached it so far, please like the article, It will encourage me to write more such articles. Do share your valuable suggestions, I appreciate your honest feedback and suggestions!